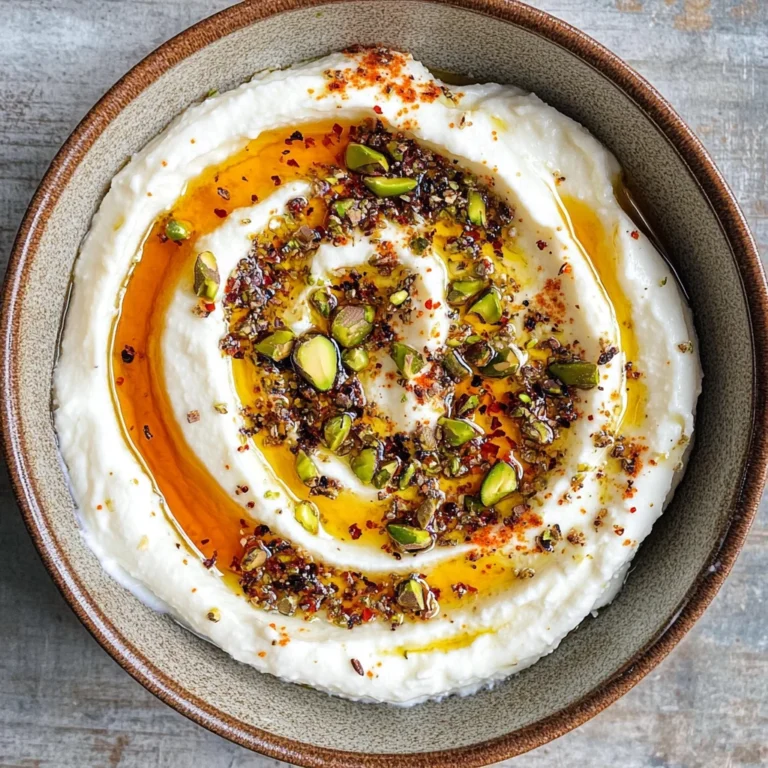
Crispy Sourdough Cheesy Breadsticks
If you’re looking for a delicious way to use up your sourdough discard, these Crispy Sourdough Cheesy Breadsticks are just the ticket! They transform what might be waste into a delightful, crunchy snack that everyone will love. Perfect for busy weeknights or family gatherings, these cheesy delights are sure to become a favorite in your home.
What makes them special? It’s all about the cheesy goodness and the satisfying crunch that comes from baking them to perfection. Plus, they’re super easy to whip up! Whether you’re enjoying them on movie night or serving them at a party, these breadsticks will have everyone asking for more.
Why You’ll Love This Recipe
- Quick and Easy: With only 10 minutes of prep time, you can have these cheesy breadsticks ready in no time!
- Family-Friendly: Kids and adults alike will enjoy the cheesy flavor and fun texture—perfect for snacking!
- Versatile Options: Customize with your favorite herbs or additional cheese for a personal touch.
- Perfect for Sharing: These breadsticks make a great appetizer or snack to share with friends and family.
- Waste Not: This recipe is an excellent way to use up sourdough discard, turning it into something delicious!

Ingredients You’ll Need
Let’s gather some simple and wholesome ingredients to make these Crispy Sourdough Cheesy Breadsticks. You probably already have most of them in your pantry!
For the Dough
- 1 cup sourdough discard (See substitution notes below.)
- 1 cup all-purpose flour (Can substitute with 1:1 whole wheat pastry flour.)
- 1 cup shredded cheese (Use cheddar, mozzarella, or a mix.)
- 1/2 teaspoon garlic powder
- 1/2 teaspoon salt
- 1/4 teaspoon black pepper
- 1/4 cup olive oil or melted butter (Use olive oil for dairy-free.)
For Toppings
- To taste herbs (rosemary, thyme, or parsley)
- To taste additional cheese
- To taste sesame seeds
- To taste everything bagel seasoning
- To taste red pepper flakes
Variations
This recipe is wonderfully flexible! You can easily customize it based on what you have on hand or your personal preferences.
- Add Some Spice: Sprinkle in some red pepper flakes for a little kick!
- Mix Up the Cheese: Try different types of cheese like gouda or pepper jack for unique flavors.
- Herb Infusion: Add fresh herbs like chopped basil or oregano for an aromatic twist.
- Switch Up the Flour: Experiment with gluten-free flour blends if you’re looking for a gluten-free option.
How to Make Crispy Sourdough Cheesy Breadsticks
Step 1: Preheat Your Oven
Start by preheating your oven to 400°F (200°C). Preheating helps ensure that your breadsticks bake evenly and get that perfect crispy texture.
Step 2: Mix the Ingredients
In a large mixing bowl, combine the sourdough discard, flour, shredded cheese, garlic powder, salt, and black pepper. Pour in the olive oil (or melted butter) and mix until everything is well combined. This step is important because it allows all the flavors to meld together before baking.
Step 3: Shape Your Breadsticks
Once mixed, transfer the dough onto a floured surface. Roll it out into a rectangle about ½ inch thick. Cut into strips—this is where you can decide how big or small you’d like your breadsticks! A pizza cutter works wonders here.
Step 4: Add Toppings
Lay your breadstick strips on a parchment-lined baking sheet. Brush with extra olive oil if desired and sprinkle on any herbs, additional cheese, sesame seeds, everything bagel seasoning, or red pepper flakes. These toppings add flavor and texture!
Step 5: Bake
Bake in the preheated oven for about 20 minutes or until golden brown and crispy. Keep an eye on them towards the end; we want that lovely crunch without burning!
Step 6: Serve and Enjoy!
Once baked, remove from the oven and let cool slightly before serving. These Crispy Sourdough Cheesy Breadsticks are best enjoyed warm with your favorite dips or just on their own!
Enjoy making this recipe as much as I do! Every bite of these cheesy delights will remind you why they are such a beloved snack in our home.
Pro Tips for Making Crispy Sourdough Cheesy Breadsticks
Making these delicious crispy sourdough cheesy breadsticks is a breeze if you keep a few essential tips in mind!
-
Use cold cheese: Keeping your cheese cold helps it maintain its shape while baking, resulting in perfectly chewy and crispy textures.
-
Don’t skip the resting time: Allowing the dough to rest for a few minutes after mixing enhances the flavors and makes it easier to roll out.
-
Experiment with spices: Adding your favorite spices or herbs can elevate the flavor profile. Feel free to get creative and adjust to your taste!
-
Cut evenly: For even cooking, ensure that your breadsticks are cut into uniform sizes. This way, they’ll all bake at the same rate and achieve that perfect crispiness.
-
Keep an eye on baking time: Ovens can vary, so start checking on your breadsticks a couple of minutes before the suggested baking time. You want them golden brown but not burnt!
How to Serve Crispy Sourdough Cheesy Breadsticks
These crispy sourdough cheesy breadsticks are fantastic on their own but can be elevated with a few thoughtful touches. Here’s how to present them beautifully for any occasion!
Garnishes
-
Fresh herbs: Sprinkle some finely chopped fresh herbs like parsley or chives on top just before serving for a burst of color and freshness.
-
Parmesan dust: A light dusting of grated Parmesan cheese adds an extra layer of savory goodness that complements the cheesy flavors.
Side Dishes
-
Marinara sauce: A classic pairing, this tangy tomato sauce is perfect for dipping and brings a delightful contrast to the cheesy flavor of the breadsticks.
-
Hummus: Creamy and nutritious, hummus offers a healthy alternative for dipping that pairs well with the crunch of the breadsticks.
-
Guacamole: The rich creaminess of guacamole is a fantastic companion, providing a contrasting texture that enhances each bite.
-
Mixed greens salad: A light salad with mixed greens and a vinaigrette balances the richness of the breadsticks, making for a well-rounded snack or appetizer spread.
Now that you’ve got all these tips and serving ideas, you’re ready to impress friends and family with your crispy sourdough cheesy breadsticks! Enjoy!

Make Ahead and Storage
These crispy sourdough cheesy breadsticks are perfect for meal prep, allowing you to whip up a delicious snack or appetizer in advance. You can easily store them or even freeze them for later use!
Storing Leftovers
- Allow the breadsticks to cool completely before storing.
- Place them in an airtight container at room temperature for up to 3 days.
- For longer-lasting freshness, consider wrapping them tightly in plastic wrap and then placing them in a container.
Freezing
- Once cooled, arrange the breadsticks in a single layer on a baking sheet.
- Freeze for about 1-2 hours until firm.
- Transfer the frozen breadsticks to a freezer-safe bag or container, separating layers with parchment paper to prevent sticking.
- Use within 2-3 months for best quality.
Reheating
- Preheat your oven to 350°F (175°C).
- Place the breadsticks on a baking sheet and bake for about 10-15 minutes until heated through and crispy again.
- For quicker reheating, use a microwave on low power for 20-30 seconds, but this may soften them slightly.
FAQs
Here are some common questions you might have about making crispy sourdough cheesy breadsticks.
Can I use other types of cheese for Crispy Sourdough Cheesy Breadsticks?
Absolutely! You can experiment with different cheeses like gouda, pepper jack, or even vegan cheese alternatives. Just ensure they melt well for that gooey texture.
How do I make Crispy Sourdough Cheesy Breadsticks gluten-free?
To make this recipe gluten-free, substitute all-purpose flour with a 1:1 gluten-free flour blend. Ensure your cheese is also gluten-free.
What can I serve with Crispy Sourdough Cheesy Breadsticks?
These cheesy delights pair wonderfully with dips like marinara sauce, hummus, or even guacamole. They also make a great addition to charcuterie boards!
Final Thoughts
I hope you enjoy making these crispy sourdough cheesy breadsticks as much as I do! They’re such a fun way to use sourdough discard while creating something delicious and shareable. Whether you’re enjoying them at home or serving them at a party, I’m sure they’ll be a hit. Happy baking!
snack
Crispy Sourdough Cheesy Breadsticks

If you’re searching for a delightful way to utilize your sourdough discard, look no further than these Crispy Sourdough Cheesy Breadsticks! These golden-brown snacks are not only incredibly easy to make but also transform leftover dough into a crunchy treat that everyone will adore. The irresistible cheesy flavor combined with a satisfying crunch makes these breadsticks perfect for movie nights, family gatherings, or simply snacking at home. Plus, they can be customized with your favorite herbs and toppings, allowing you to create a personal touch that suits any occasion. Get ready to impress your friends and family with this scrumptious recipe!
- Prep Time: 10 minutes
- Cook Time: 20 minutes
- Total Time: 30 minutes
- Yield: About 12 servings 1x
- Category: Snack
- Method: Baking
- Cuisine: American
Ingredients
- 1 cup sourdough discard
- 1 cup all-purpose flour (or whole wheat pastry flour)
- 1 cup shredded cheese (cheddar, mozzarella, or mix)
- 1/2 teaspoon garlic powder
- 1/2 teaspoon salt
- 1/4 cup olive oil (or melted butter)
Instructions
- Preheat the oven to 400°F (200°C).
- In a mixing bowl, combine sourdough discard, flour, cheese, garlic powder, salt, and olive oil until well blended.
- Transfer the dough to a floured surface and roll it out to about ½ inch thick. Cut into strips.
- Place breadstick strips on a parchment-lined baking sheet and add desired toppings.
- Bake for approximately 20 minutes until golden brown and crispy.
Nutrition
- Serving Size: 2 breadsticks (60g)
- Calories: 195
- Sugar: 0g
- Sodium: 350mg
- Fat: 12g
- Saturated Fat: 4g
- Unsaturated Fat: 7g
- Trans Fat: 0g
- Carbohydrates: 17g
- Fiber: 1g
- Protein: 6g
- Cholesterol: 15mg