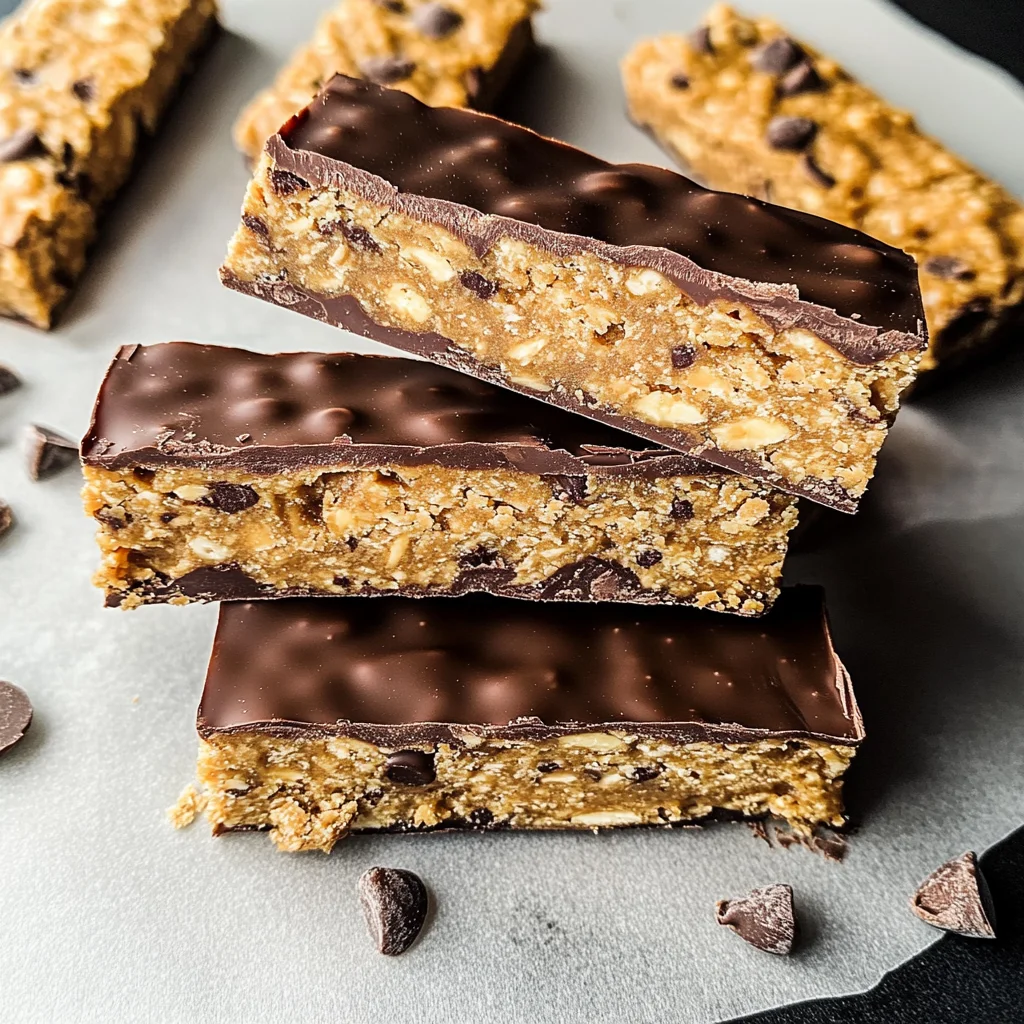
Protein Bars
If you’re looking for a quick and healthy snack that packs a punch, you’ve come to the right place! These Protein Bars are not only delicious but also super easy to make. They’re perfect for busy weeknights when you need something on-the-go or a sweet treat to satisfy your cravings without the guilt. I love whipping up a batch of these bars to keep my energy high throughout the day.
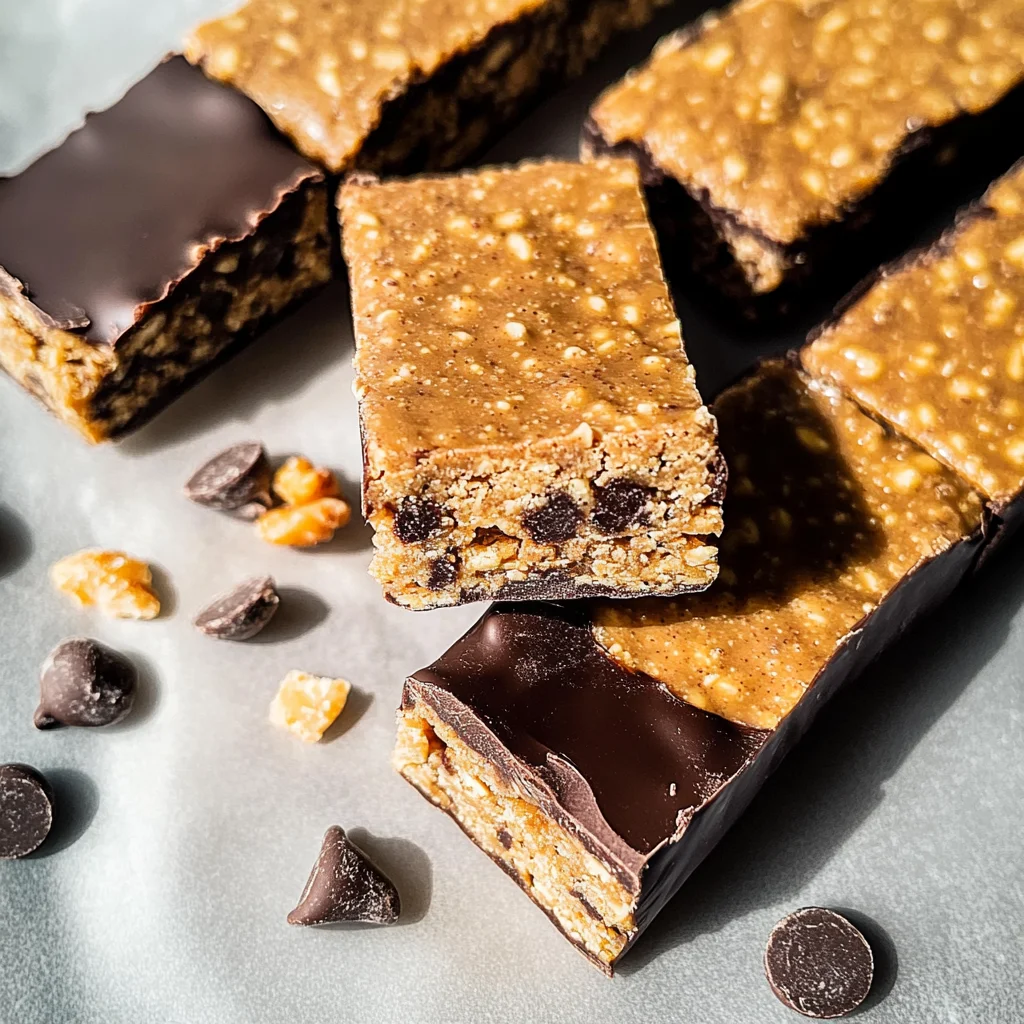
What makes this recipe special is its simplicity—just four main ingredients! You can easily customize them with different flavors to suit your taste, making them ideal for family gatherings or meal prep for the week. Trust me; once you try these Protein Bars, they’ll become a staple in your kitchen!
Why You’ll Love This Recipe
- Quick and Easy: With just five minutes of prep time, these bars are incredibly simple to throw together.
- Customizable Flavors: You can mix and match ingredients to create your favorite flavor combinations!
- Healthy Snacking: Packed with protein, these bars will keep you full and satisfied between meals.
- Great for All Ages: Kids and adults alike will enjoy these tasty treats—they’re family-approved!
- Make Ahead Convenience: Prepare a batch in advance for an easy grab-and-go option during busy days.
Ingredients You’ll Need
These are simple, wholesome ingredients that come together beautifully to create nourishing Protein Bars. Let’s dive into what you’ll need:
Main Ingredients
- 1 1/2 cup peanut butter (or an allergy-friendly substitute)
- 3/4 cup protein powder (90g)
- 1/4 cup pure maple syrup (or honey; feel free to check out my Keto Protein Bars!)
- 1/2 tsp salt
- 4 oz melted chocolate chips (optional)
Variations
One of the best things about this recipe is how flexible it is! Feel free to get creative and try out different flavors:
- Swap the nut butter: Use almond butter or sunflower seed butter for a different taste or nut-free option.
- Change the protein powder: Experiment with flavored protein powders like vanilla or chocolate for added zest.
- Add mix-ins: Toss in some dried fruit, nuts, or seeds for extra texture and nutrition.
- Try different sweeteners: Swap maple syrup with agave syrup or date syrup if you prefer something else.
How to Make Protein Bars
Step 1: Gather Your Ingredients
Before we start mixing, gather all your ingredients. It’s essential to have everything ready so that the process goes smoothly. This helps keep your kitchen organized and makes it easier to whip up these delicious bars.
Step 2: Mix It Up
In a large bowl, combine all ingredients except the optional chocolate chips. Stir until you form a dough. Make sure everything is evenly mixed—this is where the magic happens! If you’re using a flavored protein powder, taste it first to ensure it’s just right.
Step 3: Shape Your Bars
Now comes the fun part! You can either shape the dough into bars with your hands or press it into a lined 8×8 pan. If using a pan, smooth it out evenly so that every bar has the same thickness later on.
Step 4: Chill and Cut
Place your pan in the refrigerator until chilled—about 30 minutes should do it. Once set, cut into bars of your desired size. If you’ve chosen the optional chocolate coating, melt the chocolate now and spread it over the top before chilling again.
Step 5: Enjoy!
Once everything is set and cut into bars, they’re ready to enjoy! These Protein Bars make for an excellent breakfast option or snack anytime throughout your day. Store them in an airtight container in the fridge for maximum freshness.
And there you have it—a delightful way to fuel your day with nutritious goodness!
Pro Tips for Making Protein Bars
Creating delicious protein bars at home is a breeze, and with a few handy tips, you can make them even better!
-
Choose the right protein powder: Not all protein powders are created equal. Pick one that you enjoy the taste of, as it will greatly affect the flavor of your bars. Unsweetened or flavored varieties work well, depending on your personal preference.
-
Mix thoroughly: Ensure all ingredients are combined well to avoid dry pockets in your bars. A consistent dough guarantees even flavor and texture throughout each bar.
-
Experiment with add-ins: Feel free to personalize your protein bars by adding nuts, seeds, or dried fruits. These extras not only enhance flavor but also boost the nutritional profile.
-
Chill for best results: Allowing the bars to chill in the refrigerator solidifies their structure and makes them easier to cut into neat pieces. Plus, cold bars have a satisfying texture that many enjoy!
-
Store wisely: Keep your protein bars in an airtight container in the fridge to maintain freshness. You can also freeze them for longer storage; just be sure to wrap them individually!
How to Serve Protein Bars
Serving your homemade protein bars can be just as fun as making them! Here are some creative ways to present this nutritious snack.
Garnishes
- Drizzle of nut butter: A light drizzle of almond or cashew butter over the top adds a beautiful finish and an extra layer of flavor.
- Sprinkle of sea salt: A pinch of flaky sea salt elevates the sweetness of the bars and creates a delightful contrast that enhances every bite.
Side Dishes
- Fresh fruit: Pair your protein bars with sliced apples or bananas for a refreshing side. The natural sweetness complements the flavors perfectly.
- Yogurt parfait: Serve with a bowl of yogurt layered with granola and berries. This combination offers a tasty balance of textures and flavors while increasing your protein intake.
- Smoothie: Blend up a quick smoothie using spinach, banana, and almond milk for an energizing drink that pairs beautifully with your protein bars.
- Trail mix: A handful of homemade trail mix made from nuts, seeds, and dried fruits offers a crunchy side that complements the chewy texture of the bars.
Enjoy these delightful homemade protein bars as part of your breakfast or snack routine! With so many ways to customize and serve them, they’re bound to become a staple in your kitchen.
Make Ahead and Storage
These protein bars are perfect for meal prep! You can whip up a batch in just a few minutes and enjoy them throughout the week. Here’s how to store them effectively:
Storing Leftovers
- Keep the protein bars in an airtight container at room temperature for up to a week.
- For longer freshness, you can refrigerate them, which will keep them good for about two weeks.
Freezing
- To freeze protein bars, wrap each bar individually in plastic wrap or foil.
- Place the wrapped bars in a freezer-safe bag or container. They can be stored in the freezer for up to three months.
- When ready to eat, simply thaw them at room temperature or in the refrigerator overnight.
Reheating
- If you’d like to warm your protein bars slightly, place them in the microwave for about 10-15 seconds.
- For a crispier texture, you can also pop them in the oven at a low temperature (around 300°F) for a few minutes.
FAQs
Here are some common questions you might have about making protein bars.
Can I use different flavors of protein powder for these Protein Bars?
Absolutely! Feel free to experiment with flavored protein powders like chocolate, vanilla, or even fruity blends. Just ensure that you like the taste of the powder you choose, as it will significantly affect the flavor of your bars.
How long do homemade Protein Bars last?
Homemade protein bars can last up to a week at room temperature and about two weeks if stored in the refrigerator. If frozen properly, they can maintain their quality for up to three months.
Can I substitute peanut butter in this Protein Bars recipe?
Yes! If you have nut allergies or simply prefer another option, try using sunflower seed butter or tahini. These alternatives work well and provide similar textures and flavors.
Are these Protein Bars suitable for kids?
Definitely! These protein bars make a great snack for kids too. They’re nutritious and can help fuel their activities while being free from pork and alcohol ingredients.
Final Thoughts
I hope you’re as excited about making these protein bars as I am! They’re not only easy to prepare but also customizable to suit your taste preferences. Whether you’re gearing up for a busy week or looking for a healthy snack option, these bars are sure to satisfy your cravings. Enjoy making them, and don’t hesitate to share your flavor experiments with me!
Snack
Protein Bars
Looking for a quick energy boost that’s both nutritious and delicious? These homemade Protein Bars are your perfect solution! Packed with wholesome ingredients, they offer a delightful balance of flavors and textures while keeping you satisfied between meals. Whether you’re rushing out the door or in need of a post-workout snack, these bars are the ideal choice. With just four main ingredients, you can whip them up in no time, and they’re completely customizable to suit your taste. Add a sprinkle of nuts, dried fruits, or switch up the nut butter for a unique twist each time you make them. Plus, they’re great for meal prepping—make a batch ahead of time and enjoy them throughout the week!
- Prep Time: 5 minutes
- Cook Time: 0 minutes
- Total Time: 5 minutes
- Yield: About 12 servings 1x
- Category: Snack
- Method: No bake
- Cuisine: American
Ingredients
- 1 1/2 cup peanut butter (or allergy-friendly substitute)
- 3/4 cup protein powder
- 1/4 cup pure maple syrup (or honey)
- 1/2 tsp salt
Instructions
- Gather all ingredients in a large bowl.
- Mix until a dough forms, ensuring everything is evenly combined.
- Shape the mixture into bars or press it into a lined 8×8 pan.
- Chill in the refrigerator for about 30 minutes to set.
- Cut into desired sizes and enjoy!
Nutrition
- Serving Size: 1 serving
- Calories: 180
- Sugar: 5g
- Sodium: 80mg
- Fat: 10g
- Saturated Fat: 2g
- Unsaturated Fat: 8g
- Trans Fat: 0g
- Carbohydrates: 15g
- Fiber: 2g
- Protein: 7g
- Cholesterol: 0mg