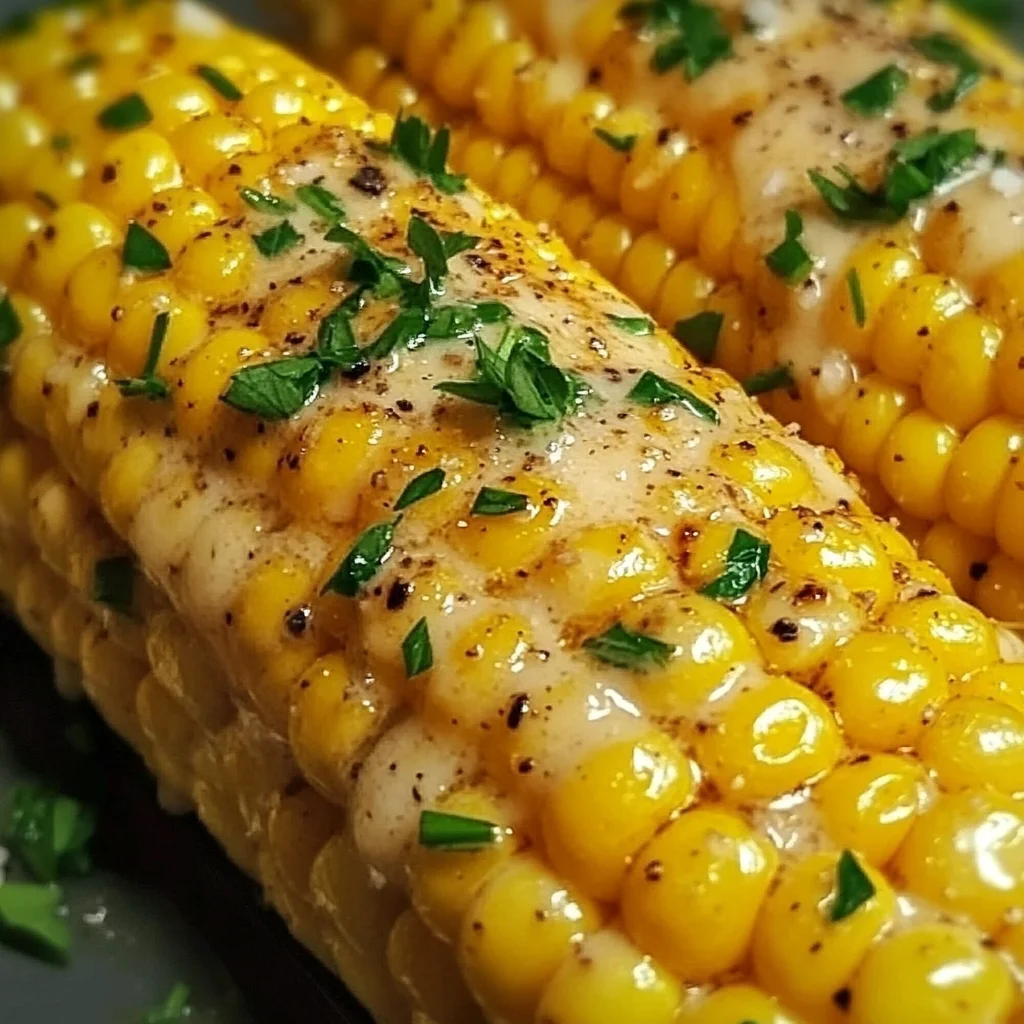
Buttery Garlic Corn on the Cob
If you’re looking for a side dish that screams summer, you’ve landed in the right spot! Buttery Garlic Corn on the Cob is the kind of recipe that brings sunshine to your plate and smiles to your gatherings. There’s nothing quite like biting into sweet, juicy corn slathered in a rich garlic butter sauce. It’s a dish that’s perfect for BBQs, family picnics, or even just a cozy dinner at home.
What makes this recipe truly special is how simple it is to whip up. With just a handful of wholesome ingredients, you can create a delightful treat that everyone will adore. Whether you’re hosting friends or enjoying a quiet weeknight meal, this buttery garlic corn will definitely steal the show!
Why You’ll Love This Recipe
- Quick and Easy: This recipe takes only 20 minutes from prep to plate, making it perfect for busy weeknights.
- Family-Friendly Appeal: Kids and adults alike will love the sweet flavor of corn combined with rich garlic butter.
- Versatile: It pairs beautifully with many main dishes, so feel free to serve it alongside your favorites!
- Fresh Ingredients: Using fresh corn means you’re getting all the flavor and nutrients—nothing beats that sweet crunch!
- Make-Ahead Option: You can pre-cook the corn and warm it up just before serving for stress-free entertainment.
Ingredients You’ll Need
You’ll be pleased to know that the ingredients for Buttery Garlic Corn on the Cob are simple and wholesome. They come together effortlessly to create a dish bursting with flavor!
For the Corn
- 4 ears of fresh corn (Select the freshest corn with bright green husks.)
For the Garlic Butter
- 1/4 cup unsalted butter (Feel free to adjust the butter quantity according to taste.)
- 3 cloves garlic, minced (Adjust the garlic according to preference for extra flavor.)
Seasoning
- Salt, to taste
- Freshly ground black pepper, to taste
Garnish (Optional)
- Chopped parsley or other fresh herbs (Experiment with different herbs for added flavor.)
Variations
One of my favorite things about this recipe is its flexibility! You can easily customize it based on what you have on hand or your personal taste.
- Add Spices: Stir in some red pepper flakes for a little kick.
- Cheesy Twist: Sprinkle grated Parmesan cheese over the top right after removing the corn from heat.
- Herb Infusion: Swap out parsley for basil or cilantro for an exciting flavor twist.
- Lemon Zest: Add a sprinkle of lemon zest before serving for a refreshing zing!
How to Make Buttery Garlic Corn on the Cob
Step 1: Prepare Your Corn
Start by husking your ears of corn. Remove all those silky threads and rinse them under cool water. This step ensures you’ll have tender kernels without any unpleasant bits. Inspect each ear closely; you want only the freshest ones!
Step 2: Cook the Corn
In a large pot, bring salted water to a boil. Once it’s bubbling away, carefully add your corn and allow it to cook for about 5-7 minutes until tender. Cooking it in boiling water enhances its natural sweetness while keeping it juicy.
Step 3: Make the Garlic Butter
While your corn is cooking, melt unsalted butter in a small saucepan over low heat. Add minced garlic and stir gently. Let it simmer just enough for the garlic to become fragrant but not browned—it’s important not to burn garlic as it can turn bitter.
Step 4: Combine & Season
Once your corn is cooked, drain it well and return it to the pot or place it on a serving platter. Drizzle your warm garlic butter generously over each ear of corn. Don’t forget to season with salt and freshly ground black pepper! The seasoning elevates all those flavors.
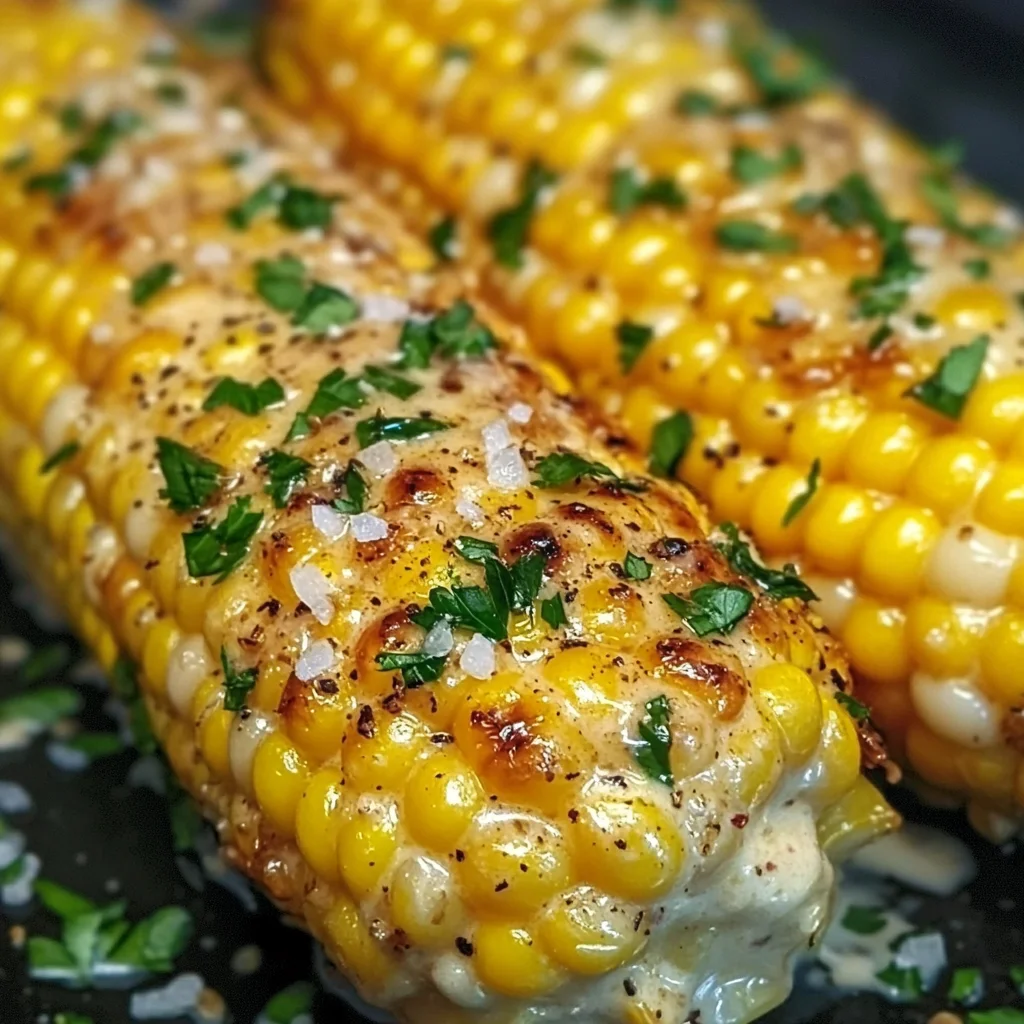
Step 5: Serve & Enjoy!
Finally, garnish your buttery garlic corn with freshly chopped herbs if desired. Serve immediately while it’s hot! Watching everyone enjoy this dish will warm your heart—it’s truly comfort food at its best!
Pro Tips for Making Buttery Garlic Corn on the Cob
Making perfect buttery garlic corn on the cob is all about the little details, and I’m here to help you nail it!
-
Choose Fresh Corn: Select ears that feel firm and have bright green husks. Fresh corn means sweeter, juicier kernels, making your dish more flavorful.
-
Melt Butter Gently: Heat your butter slowly over low heat until just melted. This helps prevent burning and ensures a rich, creamy texture that coats the corn beautifully.
-
Adjust Garlic According to Taste: Start with three cloves but feel free to add more if you’re a garlic lover! Balancing flavors is key, and personalizing it makes it even better.
-
Season Generously: Don’t be shy with salt and pepper! Proper seasoning elevates the taste of the corn, bringing out its natural sweetness.
-
Garnish for Presentation: Adding fresh herbs not only enhances the look of your dish but also introduces a burst of freshness. Experiment with parsley, chives, or even cilantro for a unique twist!
How to Serve Buttery Garlic Corn on the Cob
Serving buttery garlic corn on the cob can be as delightful as preparing it. Whether you’re hosting a summer BBQ or enjoying a family dinner, how you present this dish can make it even more inviting.
Garnishes
- Chopped Parsley: A sprinkle of fresh parsley adds vibrant color and a refreshing flavor that complements the richness of the garlic butter.
- Grated Parmesan Cheese: For those who enjoy cheese, a light dusting brings additional depth and an extra layer of flavor.
- Lemon Wedges: Serving lemon wedges alongside allows guests to squeeze fresh juice over their corn for a zesty kick that perfectly balances the buttery richness.
Side Dishes
-
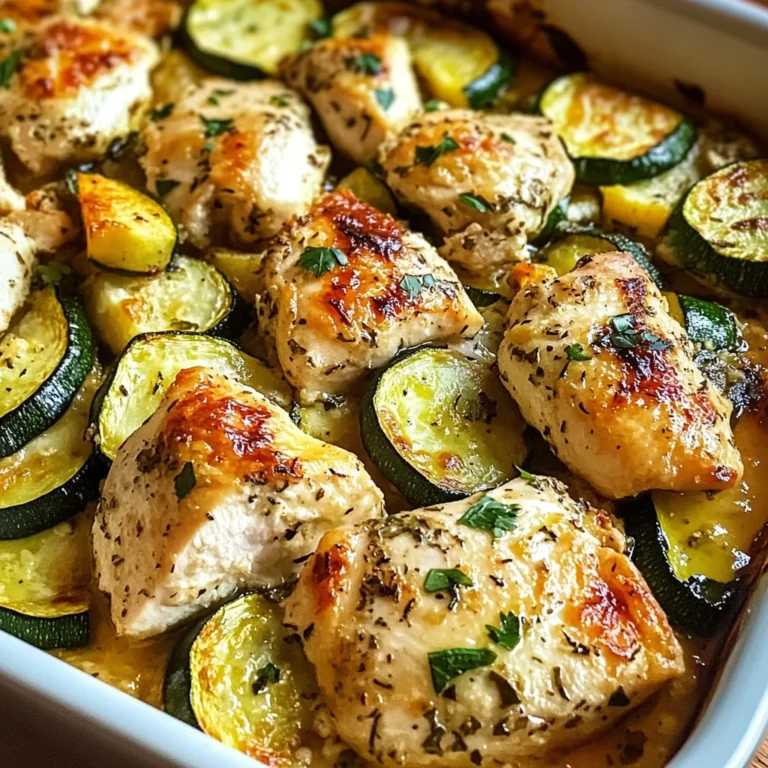
Grilled Vegetables: Assorted seasonal vegetables like bell peppers, zucchini, and eggplant brushed with olive oil and grilled until tender make for a colorful and healthy accompaniment.
-
Potato Salad: A creamy potato salad pairs well with corn on the cob; its richness complements the butter while providing a satisfying contrast in texture.
-
Coleslaw: The crunchiness of coleslaw offers a wonderful texture difference. The tangy dressing balances out the sweet corn beautifully.
-
Watermelon Feta Salad: Light and refreshing, this salad combines juicy watermelon with feta cheese (or a dairy-free alternative) for a sweet-salty delight that’s perfect for summer meals.
Now that you have all these tips and serving suggestions at your fingertips, you’re ready to impress everyone with your buttery garlic corn on the cob! Enjoy every bite!
Make Ahead and Storage
This Buttery Garlic Corn on the Cob is a fantastic option for meal prep, making it easy to enjoy this delightful side dish throughout the week.
Storing Leftovers
- Store any leftover corn in an airtight container in the refrigerator.
- Consume within 3-4 days for the best flavor and quality.
- Reheat gently to avoid drying out the corn.
Freezing
- If you have more corn than you can eat, you can freeze it!
- Cut the kernels off the cob before freezing for easier use later.
- Place the kernels in a freezer-safe bag or container, removing as much air as possible.
- Freeze for up to 6 months.
Reheating
- To reheat, place corn in a microwave-safe dish with a splash of water, cover, and microwave until heated through.
- Alternatively, reheat on the stove over low heat with a little butter until warmed.
FAQs
Here are some common questions about this delicious recipe!
Can I make Buttery Garlic Corn on the Cob without butter?
Absolutely! You can substitute olive oil or a plant-based butter alternative if you’re looking for a dairy-free option.
How do I enhance the flavor of my Buttery Garlic Corn on the Cob?
Experiment with adding spices like paprika, chili powder, or even some grated cheese for extra flavor! Fresh herbs like basil or cilantro also work wonderfully.
What’s the best way to choose fresh corn for this recipe?
Look for ears with bright green husks that feel firm when squeezed. Check for plump kernels that are tightly packed together.
Final Thoughts
I hope you enjoy whipping up this Buttery Garlic Corn on the Cob as much as I do! It’s such a simple yet flavorful addition to any meal or gathering. Whether you’re grilling outside or just looking for a comforting side dish at home, this recipe is sure to impress. Happy cooking, and don’t forget to share your delightful creations with family and friends!
Buttery Garlic Corn on the Cob
If you’re craving a side dish that embodies the essence of summer, Buttery Garlic Corn on the Cob is your perfect match! This vibrant recipe transforms sweet, juicy corn into a mouthwatering delight with just a few simple ingredients. Imagine sinking your teeth into tender, buttery corn drizzled with aromatic garlic butter—it’s sure to brighten up any meal! Ideal for BBQs, picnics, or cozy family dinners, this dish is not only quick and easy to prepare but also packed with flavor that everyone will love. Serve it alongside your favorite main dishes or enjoy it on its own as a comforting treat.
- Prep Time: 10 minutes
- Cook Time: 10 minutes
- Total Time: 20 minutes
- Yield: Serves 4
- Category: Side Dish
- Method: Boiling
- Cuisine: American
Ingredients
- 4 ears of fresh corn
- 1/4 cup unsalted butter
- 3 cloves garlic, minced
- Salt, to taste
- Freshly ground black pepper, to taste
- Chopped parsley or other fresh herbs (optional)
Instructions
- Husk the corn, remove silky threads, and rinse under cool water.
- Boil salted water in a large pot; add corn and cook for 5-7 minutes until tender.
- Melt butter in a small saucepan over low heat; add minced garlic and simmer until fragrant.
- Drain cooked corn and return it to the pot or a serving platter; drizzle with garlic butter and season with salt and pepper.
- Garnish with fresh herbs if desired and serve hot.
Nutrition
- Serving Size: 1 ear of corn (100g)
- Calories: 155
- Sugar: 6g
- Sodium: 10mg
- Fat: 8g
- Saturated Fat: 5g
- Unsaturated Fat: 2g
- Trans Fat: 0g
- Carbohydrates: 22g
- Fiber: 2g
- Protein: 3g
- Cholesterol: 15mg