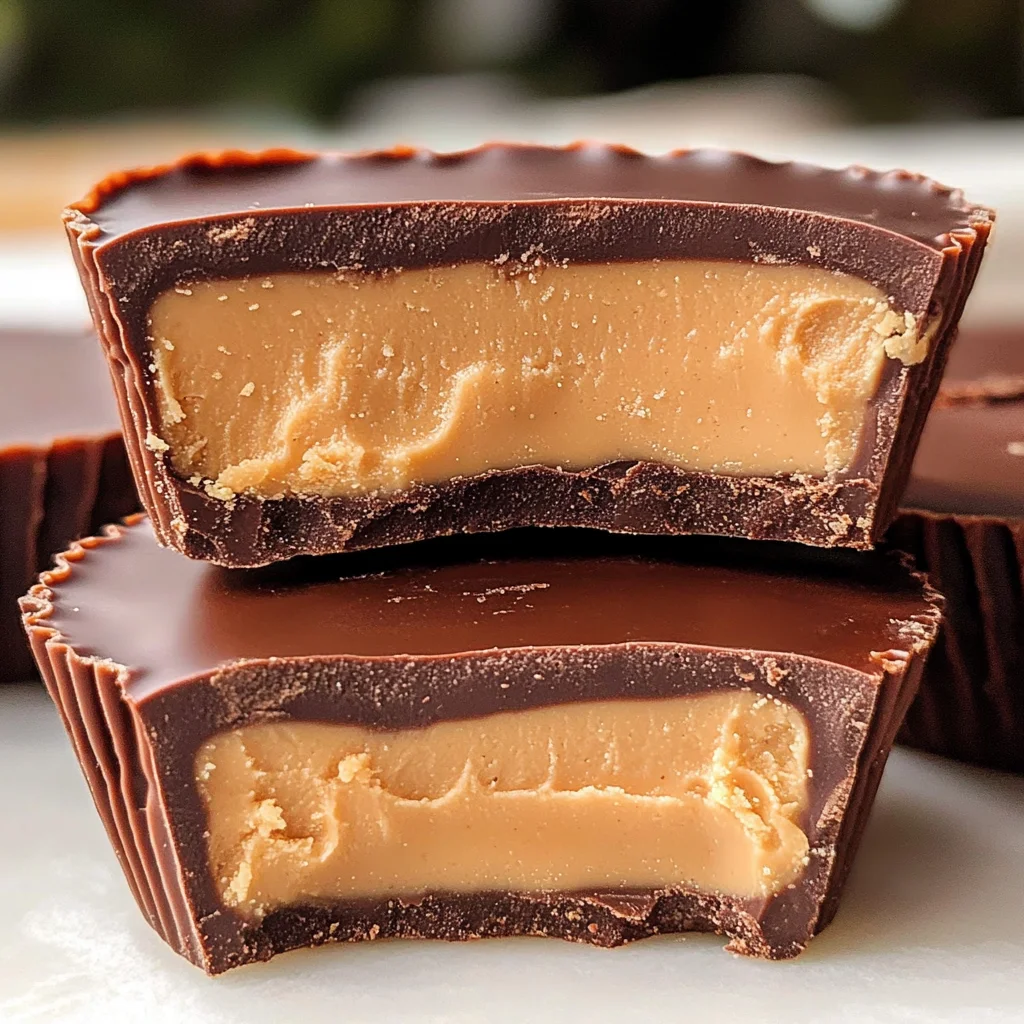
Protein Peanut Butter Cups
If you’re looking for a delicious and satisfying treat that packs a protein punch, you’ve come to the right place! These Protein Peanut Butter Cups are a delightful twist on the classic chocolate and peanut butter combo. They bring me so much joy because they taste just like those nostalgic Reese’s Cups we all love, but with a healthy upgrade. Plus, they’re perfect for any occasion—whether it’s a busy weeknight or a family gathering, these treats will surely impress!
What makes this recipe special is how simple it is. You can whip them up in no time and feel good about indulging in something that’s both tasty and nutritious. Trust me, once you try these Protein Peanut Butter Cups, they’ll become a staple in your snack rotation!
Why You’ll Love This Recipe
- Quick and Easy: With just 20 minutes of prep time, you can have these delightful cups ready to chill.
- Family-Friendly: Kids and adults alike will love the rich chocolate and creamy peanut butter combination.
- Make-Ahead Convenience: These cups store well in the fridge or freezer, making them perfect for meal prep.
- Nutritional Boost: Packed with protein from the vanilla protein powder, they’ll keep you feeling satisfied longer.
- Customizable Delight: You can easily tweak the flavors to suit your taste!
Ingredients You’ll Need
Making these Protein Peanut Butter Cups is easy with just a few wholesome ingredients! You probably already have most of them in your pantry. Here’s what you’ll need:
- 12 oz semi-sweet chocolate chips
- 1 teaspoon coconut oil (measured solid)
- 1/4 teaspoon vanilla extract
- 1/4 cup natural creamy peanut butter (the only ingredients should be peanuts + salt)
- 2 tablespoons pure maple syrup
- 1/3 cup vanilla protein powder
- 1/4 teaspoon salt
Variations
One of the best things about this recipe is its flexibility! Feel free to mix things up according to your preferences. Here are some fun variation ideas:
- Swap the nut butter: If you’re not a peanut fan, try almond or cashew butter for a different flavor profile.
- Change up the protein powder: Use chocolate-flavored protein powder for an extra cocoa kick!
- Add some crunch: Stir in some chopped nuts or seeds into the peanut butter filling for texture.
- Sweeten it differently: If maple syrup isn’t your thing, agave nectar or honey (if not vegan) works beautifully too!
How to Make Protein Peanut Butter Cups
Step 1: Prepare Your Muffin Tin
Start by lining your muffin tin with parchment paper liners. This step ensures that your Protein Peanut Butter Cups come out easily after they set. Plus, it makes cleanup a breeze!
Step 2: Melt the Chocolate
In a microwave-safe bowl, combine the semi-sweet chocolate chips and coconut oil. Microwave in 30-second intervals, stirring each time until smooth. Melting this mixture properly creates that luscious chocolate layer at the bottom of each cup.
Step 3: Add Vanilla
Once your chocolate is melted to perfection, stir in the vanilla extract. This little addition enhances the flavor and makes your cups taste even more decadent.
Step 4: Create the Chocolate Base
Pour about one heaping teaspoon of the melted chocolate into each muffin liner. Spread it out evenly to form a flat layer across the bottom. Repeat this step until all liners are filled.
Step 5: Chill While Preparing Filling
Place your muffin tin in the refrigerator while you prepare the peanut butter filling. Chilling allows that first layer of chocolate to harden slightly before adding the filling.
Step 6: Warm Up Your Peanut Butter
In another microwave-safe bowl, warm up your creamy peanut butter for about 15-20 seconds until it becomes runny. This will make it easier to mix with other ingredients.
Step 7: Mix in Other Ingredients
To your warmed peanut butter, add vanilla protein powder, salt, and maple syrup. Stir until everything is well combined into a thick yet pourable mixture.
Step 8: Shape Your Filling
Divide this delicious peanut butter mixture into twelve discs that fit nicely inside your muffin liners—slightly smaller than their width works perfectly.
Step 9: Assemble Your Cups
Take out your muffin tin from the fridge and place one peanut butter disc atop each chocolate base. It should sit perfectly without spilling over; if there’s any mess, don’t worry—it’ll be covered with more chocolate!
Step 10: Drizzle More Chocolate
If there’s any leftover melted chocolate that’s hardened, simply microwave it again for another 15-20 seconds until it’s smooth again. Drizzle this over each peanut butter disc so every bite has that rich chocolatey goodness.
Step 11: Final Chill Time
Return your muffin tin back into the refrigerator for about an hour or until everything is set nicely together. Patience pays off here!
Step 12: Store Your Treats
Finally, once set, store any leftover Protein Peanut Butter Cups in an airtight container either in the fridge or freezer—if they last that long!
Now enjoy every delightful bite knowing you’ve made these indulgent treats yourself!
Pro Tips for Making Protein Peanut Butter Cups
Making these delicious protein peanut butter cups is a breeze, especially with a few helpful tips to guide you along the way!
-
Use quality chocolate: Opting for high-quality semi-sweet chocolate chips enhances the flavor of your cups. Good chocolate will melt smoothly and taste rich, making every bite delightful.
-
Soften the peanut butter: Microwaving the peanut butter for a few seconds ensures it’s runny and easy to mix. This not only helps incorporate the protein powder evenly but also guarantees a smooth filling.
-
Don’t rush the chilling process: Allowing your cups to set in the refrigerator for a full hour is essential. This ensures that they firm up properly, making them easy to remove from their liners without falling apart.
-
Experiment with flavors: Feel free to mix in different extracts like almond or hazelnut for a unique twist on classic peanut butter. Adding spices like cinnamon can also enhance the flavor profile.
-
Make it a family affair: Involving kids or friends in making these treats can be fun! Let everyone pick their favorite toppings or fillings, which adds a personal touch and makes it a special treat.
How to Serve Protein Peanut Butter Cups
These protein peanut butter cups are not only tasty but also versatile when it comes to serving! You can enjoy them as is or dress them up for an extra special treat.
Garnishes
- Chopped nuts: Sprinkling some chopped peanuts or almonds on top before chilling adds crunch and visual appeal.
- Sea salt flakes: A light sprinkle of sea salt over the chocolate layer enhances sweetness and brings out the rich flavors of both chocolate and peanut butter.
- Cocoa powder dusting: A light dusting of cocoa powder before serving gives an elegant finish and extra chocolaty goodness.
Side Dishes
- Fresh fruit: Pair these cups with sliced strawberries or bananas for a refreshing contrast that balances out the richness.
- Greek yogurt: A dollop of plain Greek yogurt on the side brings creaminess and adds protein, making it a more substantial snack.
- Homemade granola: Serve with your favorite homemade granola for added texture. The crunchiness complements the smoothness of the peanut butter cups perfectly.
- Smoothie bowl: A vibrant smoothie bowl filled with fruits and greens makes for a colorful and nutritious accompaniment that rounds out your snack beautifully.
With these tips, garnishes, and side dish ideas, you’re all set to impress family and friends with your delightful Protein Peanut Butter Cups! Enjoy every bite!
Make Ahead and Storage
These Protein Peanut Butter Cups are perfect for meal prep! They can be made in advance and stored for a quick, delicious snack whenever you need a boost.
Storing Leftovers
- Store leftover peanut butter cups in an airtight container.
- Keep them in the refrigerator for up to one week.
- If you prefer, you can also store them in the freezer for longer freshness.
Freezing
- Place the peanut butter cups in a single layer on a baking sheet.
- Freeze until solid, then transfer them to an airtight container or freezer bag.
- They can be frozen for up to three months—just remember to label the container!
Reheating
- If you prefer your peanut butter cups slightly softer, let them sit at room temperature for about 10 minutes before enjoying.
- Avoid microwaving, as this can cause the chocolate to melt unevenly.
FAQs
Here are some common questions about making Protein Peanut Butter Cups.
Can I use different protein powder for these Protein Peanut Butter Cups?
Yes! You can substitute with any flavor of protein powder you prefer. Just keep in mind that it may slightly alter the taste of your peanut butter cups.
How do I make vegan Protein Peanut Butter Cups?
To make vegan Protein Peanut Butter Cups, use dairy-free chocolate chips and ensure your protein powder is plant-based. The rest of the recipe remains unchanged!
Can I add other ingredients to my Protein Peanut Butter Cups?
Absolutely! Feel free to mix in chopped nuts, seeds, or even dried fruit into the peanut butter filling for added texture and flavor.
How long do these Protein Peanut Butter Cups last?
When stored properly, they can last up to one week in the fridge or three months in the freezer. They’re perfect for meal prep!
Final Thoughts
I hope you enjoy making these delightful Protein Peanut Butter Cups as much as I do! They’re not only delicious but also packed with protein and goodness. Whether you’re treating yourself or preparing snacks for the week ahead, these cups are sure to bring a smile. Have fun experimenting with flavors and enjoy every bite!
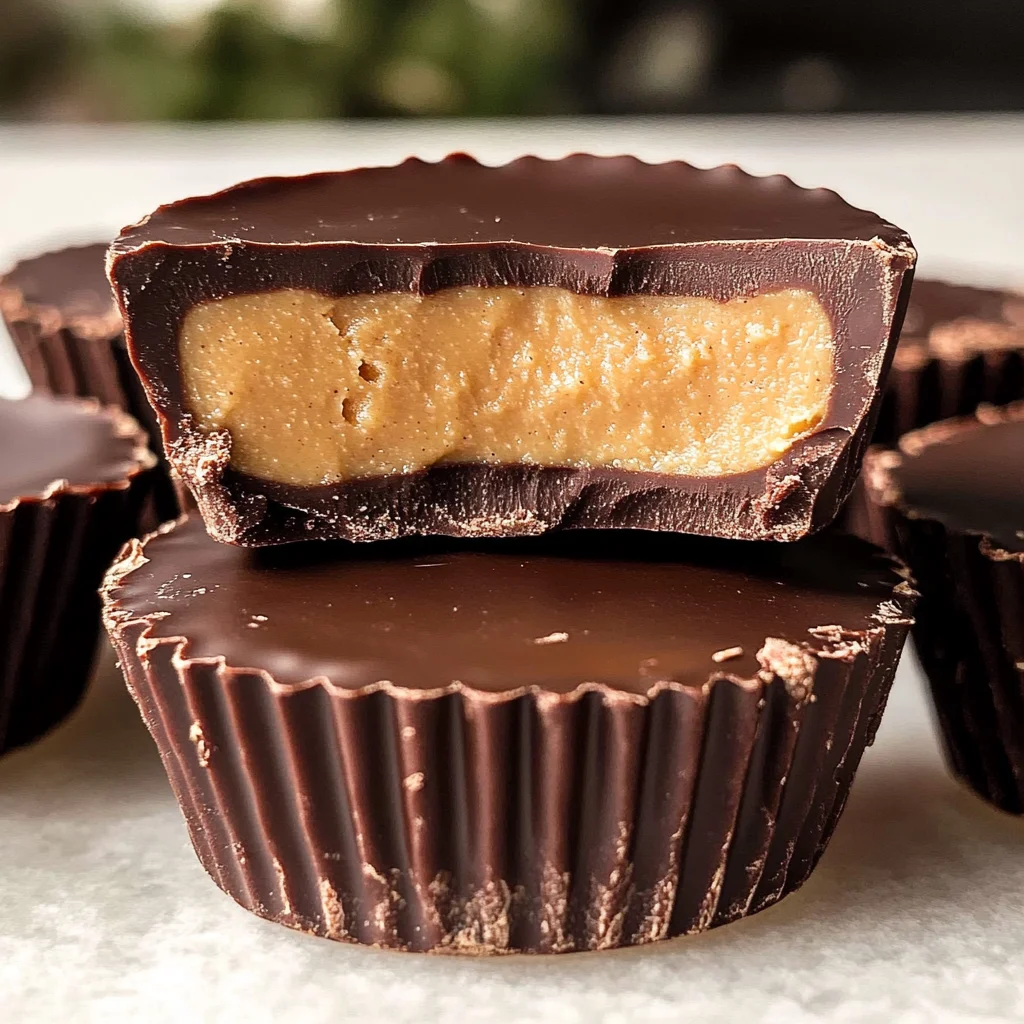
Protein Peanut Butter Cups
Indulge in the rich and delightful taste of homemade Protein Peanut Butter Cups, a guilt-free treat that combines the nostalgic flavors of chocolate and peanut butter with a nutritious twist. Perfect for satisfying your sweet tooth without compromising on health, these no-bake cups are quick to prepare and offer a protein boost that keeps you feeling full longer. Whether you’re looking for an energizing snack after workouts or a fun dessert for family gatherings, these Protein Peanut Butter Cups are sure to impress. With just a few simple ingredients and easy steps, you’ll have a delicious treat ready in no time!
- Prep Time: 20 minutes
- Cook Time: 0 minutes
- Total Time: 20 minutes
- Yield: Makes approximately 12 cups 1x
- Category: Dessert
- Method: No-bake
- Cuisine: American
Ingredients
- 12 oz semi-sweet chocolate chips
- 1 teaspoon coconut oil
- 1/4 teaspoon vanilla extract
- 1/4 cup natural creamy peanut butter
- 2 tablespoons pure maple syrup
- 1/3 cup vanilla protein powder
- 1/4 teaspoon salt
Instructions
- Line a muffin tin with parchment paper liners.
- In a microwave-safe bowl, melt chocolate chips with coconut oil in 30-second intervals until smooth. Stir in vanilla extract.
- Pour about one heaping teaspoon of melted chocolate into each liner to form the base layer.
- Chill the chocolate layer in the refrigerator while preparing the filling.
- Warm peanut butter in the microwave for 15-20 seconds until runny, then mix with protein powder, salt, and maple syrup until well combined.
- Divide the mixture into twelve discs and place one atop each chilled chocolate base.
- Drizzle remaining melted chocolate over each peanut butter disc.
- Chill for about an hour until fully set.
Nutrition
- Serving Size: 1 cup (34g)
- Calories: 158
- Sugar: 8g
- Sodium: 58mg
- Fat: 10g
- Saturated Fat: 5g
- Unsaturated Fat: 5g
- Trans Fat: 0g
- Carbohydrates: 13g
- Fiber: 2g
- Protein: 5g
- Cholesterol: 0mg