Dubai Chocolate Cake
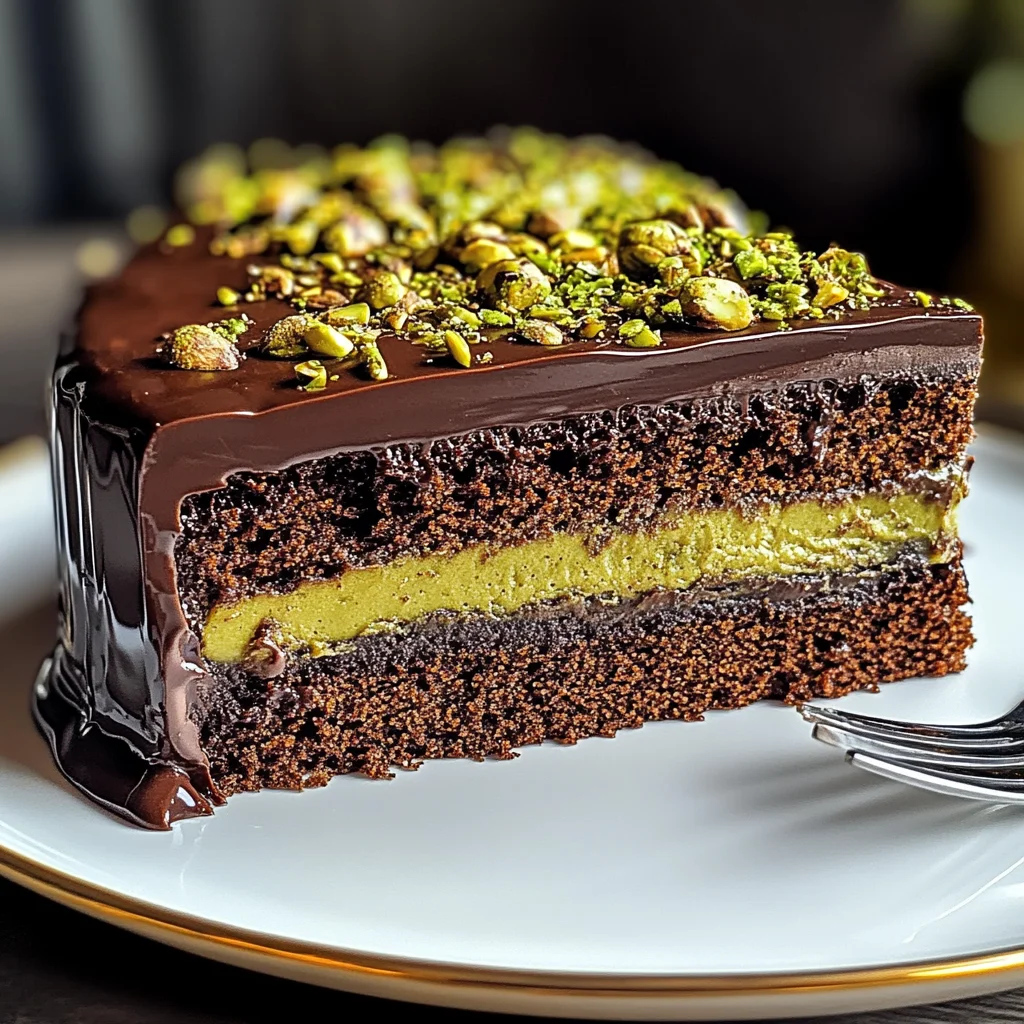
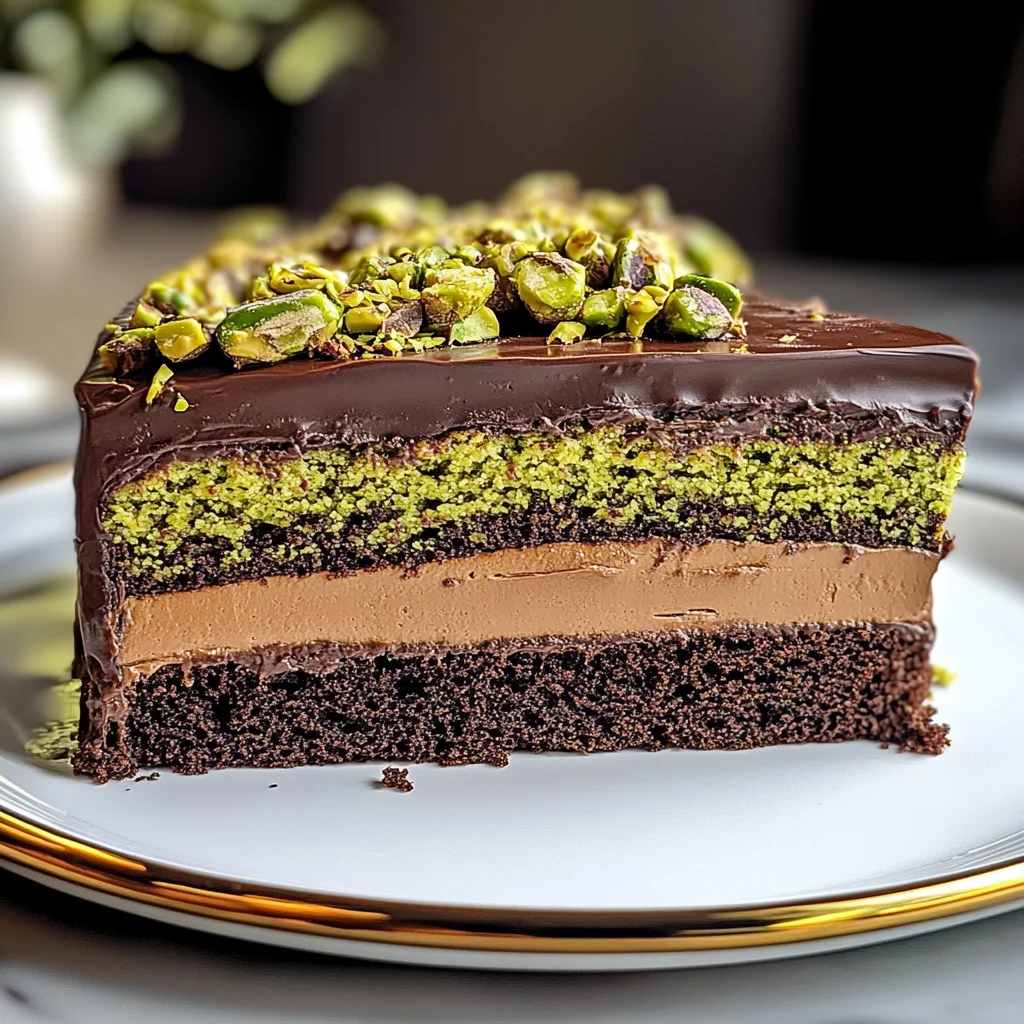
If you’re looking for a dessert that feels like a warm hug, then look no further than this Dubai Chocolate Cake! This rich, moist chocolate delight is layered with a buttery kataifi-pistachio filling and topped with silky ganache. Inspired by the luxurious desserts of Dubai, this cake is perfect for family gatherings or even just to brighten up a busy weeknight. Trust me, once you taste it, you’ll understand why it holds a special place in my heart!
This Dubai Chocolate Cake is not only delicious but also incredibly fun to make. It’s a recipe that invites creativity and joy into your kitchen. Gather your loved ones around and enjoy the baking process together—it’s an experience that will surely create lasting memories!
Why You’ll Love This Recipe
- Rich Flavor: The combination of chocolate and pistachio creates a decadent treat that’s hard to resist.
- Easy Preparation: With straightforward steps, even novice bakers can whip up this delightful cake without stress.
- Family-Friendly: Kids and adults alike will love this cake, making it perfect for any occasion.
- Make-Ahead Convenience: Bake it in advance and chill until you’re ready to serve—easy peasy!
- Gorgeous Presentation: The layers of filling and glossy ganache make for an impressive dessert that looks as good as it tastes.
Ingredients You’ll Need
To create this scrumptious Dubai Chocolate Cake, you’ll need some simple and wholesome ingredients. Don’t worry; most of them are pantry staples! Here’s what you’ll need:
For the Cake
- 1 cup all-purpose flour
- 1 cup granulated sugar
- ¼ cup unsweetened cocoa powder (preferably Dutch processed)
- 1 teaspoon baking powder
- ½ teaspoon baking soda
- ¼ teaspoon salt
- 1 large egg
- 1 teaspoon vanilla extract
- ½ cup milk
- ½ cup vegetable oil
- ½ cup hot coffee
For the Filling
- 2 cups shredded phyllo dough (kataifi), finely chopped
- 2 tablespoons butter
- 1 cup pistachio cream
For the Ganache
- 4 oz milk or semi-sweet chocolate bar
- ½ cup heavy cream or table cream
Variations
One of the best parts about this Dubai Chocolate Cake is how flexible it can be! Here are some fun ideas to mix things up:
- Add Some Spice: Incorporate a pinch of cinnamon or cardamom into the batter for an extra layer of flavor.
- Nutty Twist: Swap out pistachios for other nuts like almonds or hazelnuts in the filling for a different crunch.
- Fruity Flair: Top your cake with fresh berries or sliced bananas before serving for a refreshing contrast.
- Vegan Option: Substitute the egg with flaxseed meal and use plant-based milk and cream for a vegan-friendly version.
How to Make Dubai Chocolate Cake
Step 1: Preheat Your Oven
First things first—preheat your oven to 350℉. This step ensures that your cake bakes evenly from start to finish. While that’s heating up, grease your 9-inch square or round baking pan so that your cake doesn’t stick.
Step 2: Combine Dry Ingredients
In a large mixing bowl, whisk together the flour, sugar, cocoa powder, baking powder, baking soda, and salt. This step is essential because it ensures that all the dry ingredients are evenly distributed throughout the batter.
Step 3: Mix in Wet Ingredients
Now add the egg, vanilla extract, milk, and vegetable oil to the dry mixture. Whisk everything together until well combined. The oil adds moisture while the egg helps bind everything together—both crucial for achieving that rich texture!
Step 4: Add Hot Coffee
Pour in the hot coffee next! It may seem unusual, but hot coffee really enhances the chocolate flavor. Mix until you have a smooth batter—this should only take a minute or so.
Step 5: Bake Your Cake
Pour the batter into your prepared pan and pop it into your preheated oven. Bake for about 25 minutes, or until a toothpick inserted comes out clean. This is where patience pays off—the aroma wafting through your kitchen will be heavenly!
Step 6: Cool Your Cake
Once baked, allow your cake to cool in the pan for at least 10–15 minutes. Cooling is important because it allows the structure to set before we add our fillings.
Step 7: Toast the Kataifi
In a large pan over medium heat, toast your finely chopped kataifi with butter until golden and crispy—about 5-7 minutes should do it. This step adds wonderful texture and flavor!
Step 8: Combine Kataifi with Pistachio Cream
Transfer your toasted kataifi to a bowl and gently mix in the pistachio cream until well combined. You’ll love how these flavors meld together!
Step 9: Prepare Ganache
Chop up your chocolate bar and add it along with heavy cream to a microwave-safe bowl. Microwave for about 45 seconds; then let it sit for 3–5 minutes before whisking until smooth. The ganache is going to be luscious!
Step 10: Assemble Your Cake
Spread the pistachio mixture evenly over your cooled cake base; then pour that beautiful ganache over everything. This final touch makes every slice an unforgettable experience.
Step 11: Finish with Toppings
For an extra special touch, drizzle some more pistachio cream on top or sprinkle with toasted kataifi and crushed pistachios right before serving.
Step 12: Serve & Enjoy
Now comes the best part! Serve warm for gooey bites or chill slightly if you prefer firmer slices. Either way, enjoy every indulgent bite of this delightful Dubai Chocolate Cake!
Pro Tips for Making Dubai Chocolate Cake
Creating a decadent Dubai Chocolate Cake is easier than you might think! With these handy tips, you’ll ensure your cake turns out perfectly moist and delicious every time.
-
Use quality ingredients: Opt for high-quality chocolate and cocoa powder. The better the ingredients, the richer the flavor of your cake will be.
-
Let your coffee cool slightly: Using hot coffee helps to bloom the cocoa powder, enhancing its flavor. However, letting it cool a little before adding it to the batter can prevent cooking the egg mixture and help maintain a smooth texture.
-
Don’t overmix your batter: Once you add the wet ingredients to the dry ones, mix just until combined. Overmixing can lead to a dense cake instead of a light and fluffy one.
-
Cool completely before layering: Allowing your cake to cool completely before adding the pistachio layer and ganache ensures that they don’t melt into the cake, preserving their delicious textures and flavors.
-
Experiment with flavors: Feel free to add a hint of orange zest or espresso powder to the batter for an exciting twist on flavor that complements chocolate beautifully!
How to Serve Dubai Chocolate Cake
Presentation is key when serving this stunning dessert! Here are some delightful ideas for making your Dubai Chocolate Cake look as good as it tastes.
Garnishes
-
Chopped pistachios: Sprinkling chopped pistachios on top adds a lovely crunch and visual appeal that complements the cake’s flavors.
-
Whipped cream: A dollop of non-dairy whipped cream gives a creamy contrast to the rich chocolate and offers a lightness that balances out the dessert.
Side Dishes
-
Fresh berries: A side of mixed berries, such as raspberries or strawberries, brings a tartness that pairs wonderfully with the sweet chocolate cake. Their vibrant colors also enhance presentation!
-
Coconut sorbet: This refreshing dairy-free sorbet provides a tropical twist and creamy texture that harmonizes beautifully with the rich chocolate flavors.
-
Mint tea: A warm cup of mint tea can make for a soothing beverage alongside your slice of Dubai Chocolate Cake, enhancing its indulgent experience while offering a refreshing contrast.
With these serving suggestions, your Dubai Chocolate Cake will not only taste divine but will also impress anyone lucky enough to share it with you! Enjoy every bite!
Make Ahead and Storage
This Dubai Chocolate Cake is not just a delightful dessert for special occasions, but it’s also perfect for meal prep! You can easily make it ahead of time and store it for later indulgence.
Storing Leftovers
- Allow the cake to cool completely.
- Cover the cake tightly with plastic wrap or foil to prevent it from drying out.
- Store in the refrigerator for up to 3 days.
Freezing
- Wrap individual slices or the whole cake in plastic wrap, then place in an airtight container or freezer bag.
- Freeze for up to 2 months.
- Label with the date for easy reference.
Reheating
- Thaw the cake slices in the refrigerator overnight before serving.
- For a warm treat, microwave each slice on low power for 15-20 seconds, checking frequently to avoid overheating.
FAQs
Here are some common questions you might have about this delicious recipe!
Can I use different nuts instead of pistachios in Dubai Chocolate Cake?
Absolutely! You can substitute pistachios with walnuts, almonds, or hazelnuts. Just chop them finely and mix them into the kataifi filling.
How do I ensure my Dubai Chocolate Cake stays moist?
To keep your Dubai Chocolate Cake moist, make sure not to overbake it. Additionally, adding hot coffee helps enhance moisture. Always store it properly as mentioned above!
What can I use instead of heavy cream for ganache in Dubai Chocolate Cake?
If you prefer a lighter option, you can use coconut cream or a plant-based cream alternative. This will still give you that silky texture without sacrificing flavor.
Can I make Dubai Chocolate Cake gluten-free?
Yes! Substitute all-purpose flour with a gluten-free flour blend that measures cup-for-cup. Your cake will still be rich and delicious!
Final Thoughts
This Dubai Chocolate Cake is a true celebration of flavors, combining rich chocolate with a hint of exotic pistachio. Whether you’re enjoying it fresh out of the oven or savoring leftovers later, it’s sure to impress family and friends alike. I hope you have as much fun making it as I did! Enjoy this decadent treat and share your experience—I can’t wait to hear how yours turns out!
Dubai Chocolate Cake
If you’re craving a dessert that encapsulates warmth and indulgence, look no further than Dubai Chocolate Cake. This sumptuous treat features rich chocolate layers complemented by a buttery kataifi and pistachio filling, all topped with a decadent silky ganache. Inspired by the extravagance of Dubai’s dessert scene, this cake is perfect for family gatherings or a sweet escape from your daily routine. Once you experience its moist texture and harmonious flavors, it’s sure to become a beloved favorite in your home.
- Prep Time: 20 minutes
- Cook Time: 25 minutes
- Total Time: 45 minutes
- Yield: Serves approximately 8 slices 1x
- Category: Dessert
- Method: Baking
- Cuisine: Middle Eastern
Ingredients
- 1 cup all-purpose flour
- 1 cup granulated sugar
- ¼ cup unsweetened cocoa powder
- 1 teaspoon baking powder
- ½ teaspoon baking soda
- ¼ teaspoon salt
- 1 large egg
- 1 teaspoon vanilla extract
- ½ cup milk
- ½ cup vegetable oil
- ½ cup hot coffee
- 2 cups shredded phyllo dough (kataifi), finely chopped
- 2 tablespoons butter
- 1 cup pistachio cream
- 4 oz milk or semi-sweet chocolate bar
- ½ cup heavy cream
Instructions
- Preheat oven to 350°F and grease a 9-inch baking pan.
- In a bowl, whisk together flour, sugar, cocoa powder, baking powder, baking soda, and salt.
- Add egg, vanilla extract, milk, and oil; mix until combined.
- Stir in hot coffee until smooth.
- Bake for 25 minutes or until a toothpick comes out clean.
- Cool for 10–15 minutes in the pan.
- Toast kataifi with butter until golden brown.
- Combine toasted kataifi with pistachio cream.
- Prepare ganache by melting chocolate with heavy cream in the microwave; whisk until smooth.
- Spread the filling over the cooled cake and pour ganache on top.
- Garnish as desired before serving.
Nutrition
- Serving Size: 1 serving
- Calories: 340
- Sugar: 28g
- Sodium: 180mg
- Fat: 18g
- Saturated Fat: 7g
- Unsaturated Fat: 10g
- Trans Fat: 0g
- Carbohydrates: 42g
- Fiber: 2g
- Protein: 5g
- Cholesterol: 30mg