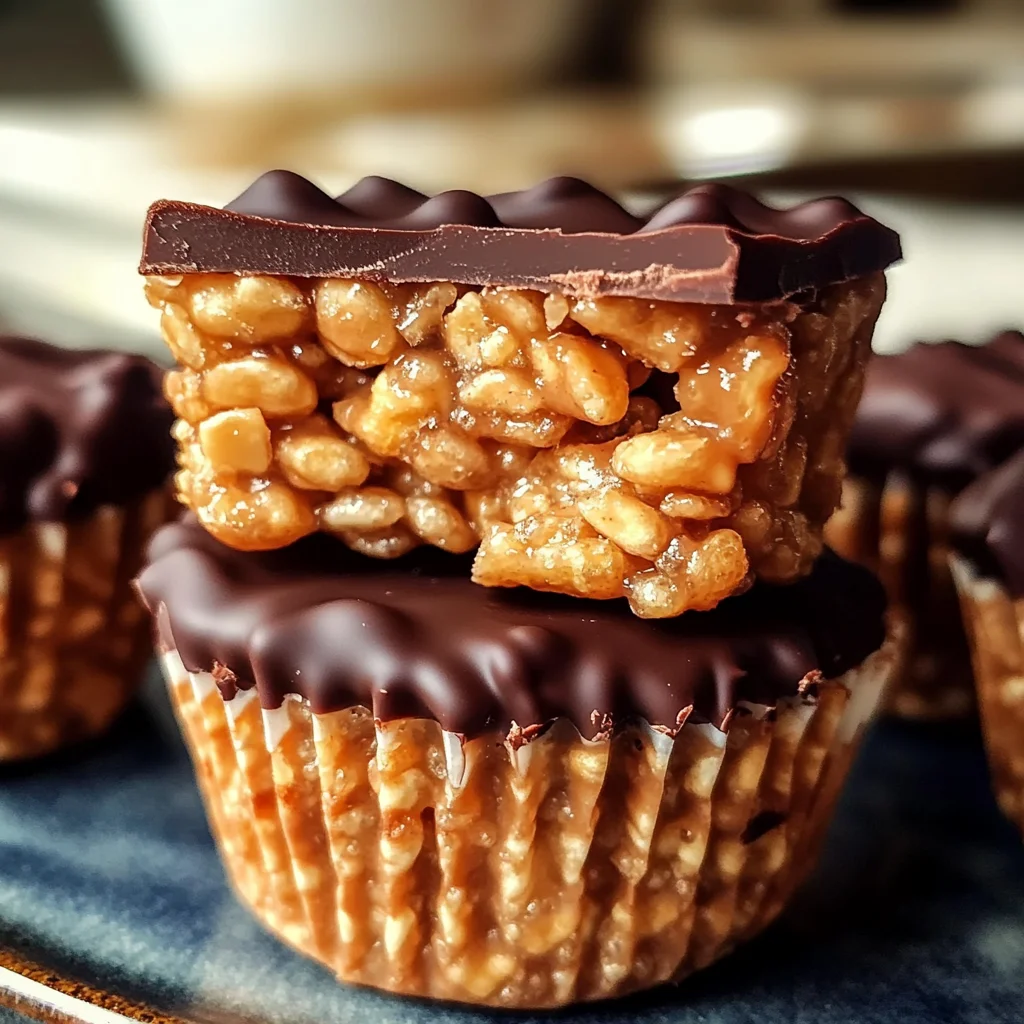
Chocolate Peanut Butter Rice Krispie Cups
If you’re looking for a fun, no-bake treat that everyone will love, you’ve come to the right place! These Chocolate Peanut Butter Rice Krispie Cups are not just delicious; they’re incredibly easy to make. Imagine biting into a creamy cup of peanut butter surrounded by rich chocolate and crispy cereal — it’s pure bliss! This recipe is perfect for busy weeknights, family gatherings, or even just a sweet pick-me-up when you need it most.
What makes these cups so special is their versatility. You can whip them up in just 20 minutes, making them a go-to option for any occasion. Plus, they’re sure to be a hit with kids and adults alike!
Why You’ll Love This Recipe
- Quick and Easy: With just a few simple steps, you can have these delightful cups ready to enjoy in no time.
- Family-Friendly: Kids love helping out in the kitchen with this fun recipe, making it a great bonding activity.
- Make-Ahead Convenience: Perfect for prepping in advance; just store them in the fridge until you’re ready to serve!
- Delicious Flavor: The combination of creamy peanut butter and rich chocolate is simply irresistible.
- Customizable: Feel free to get creative with add-ins or toppings — the options are endless!
Ingredients You’ll Need
Let’s gather our simple, wholesome ingredients! You’ll find that each one plays an important role in creating these delightful treats. Here’s what you need:
- 3 cups Rice Krispies cereal
- 1 cup creamy peanut butter
- 1/2 cup unsalted butter
- 1 cup mini vegan marshmallows
- 1 cup chocolate chips
- 1/2 tsp vanilla extract (optional)
- Pinch of sea salt (optional)
Variations
One of the best parts about these Chocolate Peanut Butter Rice Krispie Cups is how flexible they are! Here are some fun variations to try:
- Add Crunchy Texture: Mix in some chopped nuts like almonds or peanuts for an extra crunch.
- Change the Chocolate: Use white chocolate chips instead of regular chocolate for a different flavor profile.
- Incorporate Flavor: Add a tablespoon of cocoa powder to the peanut butter mixture for a deeper chocolate flavor.
- Make It Festive: Top with colorful sprinkles or seasonal toppings to match any celebration!
How to Make Chocolate Peanut Butter Rice Krispie Cups
Step 1: Melt the Base
In a medium saucepan over low heat, melt your unsalted butter and mini vegan marshmallows. Stir consistently until everything is smooth and well combined. This step is crucial because it creates the gooey base that holds everything together.
Step 2: Add Peanut Butter
Once your mixture is smooth, stir in the creamy peanut butter and vanilla extract if you choose to use it. Mix thoroughly until it’s fully combined and creamy. This adds that deliciously nutty flavor we all crave!
Step 3: Mix with Cereal
Pour your Rice Krispies into a large mixing bowl. Then, gently fold in the melted peanut butter mixture until every piece of cereal is evenly coated. This ensures each bite is packed with flavor!
Step 4: Shape the Cups
Line a muffin tin with paper liners before spooning the mixture evenly into each cup. Press down gently to form a flat surface on top. This step helps shape your cups perfectly so they hold together when served.
Step 5: Add Chocolate Layer
Now it’s time for the best part! Melt your chocolate chips in the microwave using 20-second intervals, stirring between each interval until smooth. Spoon melted chocolate over each cup and spread it evenly on top for that luscious finish.
Step 6: Set & Serve
Allow your beautiful cups to cool at room temperature for about 20 minutes or pop them in the refrigerator to set faster. Once firm, carefully remove them from their liners and get ready to enjoy!
These Chocolate Peanut Butter Rice Krispie Cups are truly irresistible — enjoy every last bite!
Pro Tips for Making Chocolate Peanut Butter Rice Krispie Cups
Making these delightful treats is as easy as pie, but a few tips can take your Chocolate Peanut Butter Rice Krispie Cups to the next level!
-
Use Fresh Ingredients: Fresh peanut butter and chocolate chips enhance the flavor and texture of your cups. The tastier the ingredients, the more delicious the final product will be!
-
Don’t Overheat the Mixture: When melting the butter and marshmallows, keep the heat low and stir constantly. This prevents burning and ensures a smooth, creamy mixture that coats the Rice Krispies perfectly.
-
Press Firmly: When shaping the cups in the muffin tin, press down firmly but gently. This helps them hold their shape when you remove them from the liners later.
-
Experiment with Add-Ins: Feel free to customize your treats! Adding chopped nuts, dried fruits, or even a sprinkle of cinnamon can elevate the flavor and add an exciting twist.
-
Store Properly: Keep your Rice Krispie cups in an airtight container at room temperature for up to a week. This keeps them fresh and ready to enjoy whenever cravings strike!
How to Serve Chocolate Peanut Butter Rice Krispie Cups
These Chocolate Peanut Butter Rice Krispie Cups are not just a treat; they’re a feast for both the eyes and taste buds! Here are some fun ways to present them for any occasion.
Garnishes
-
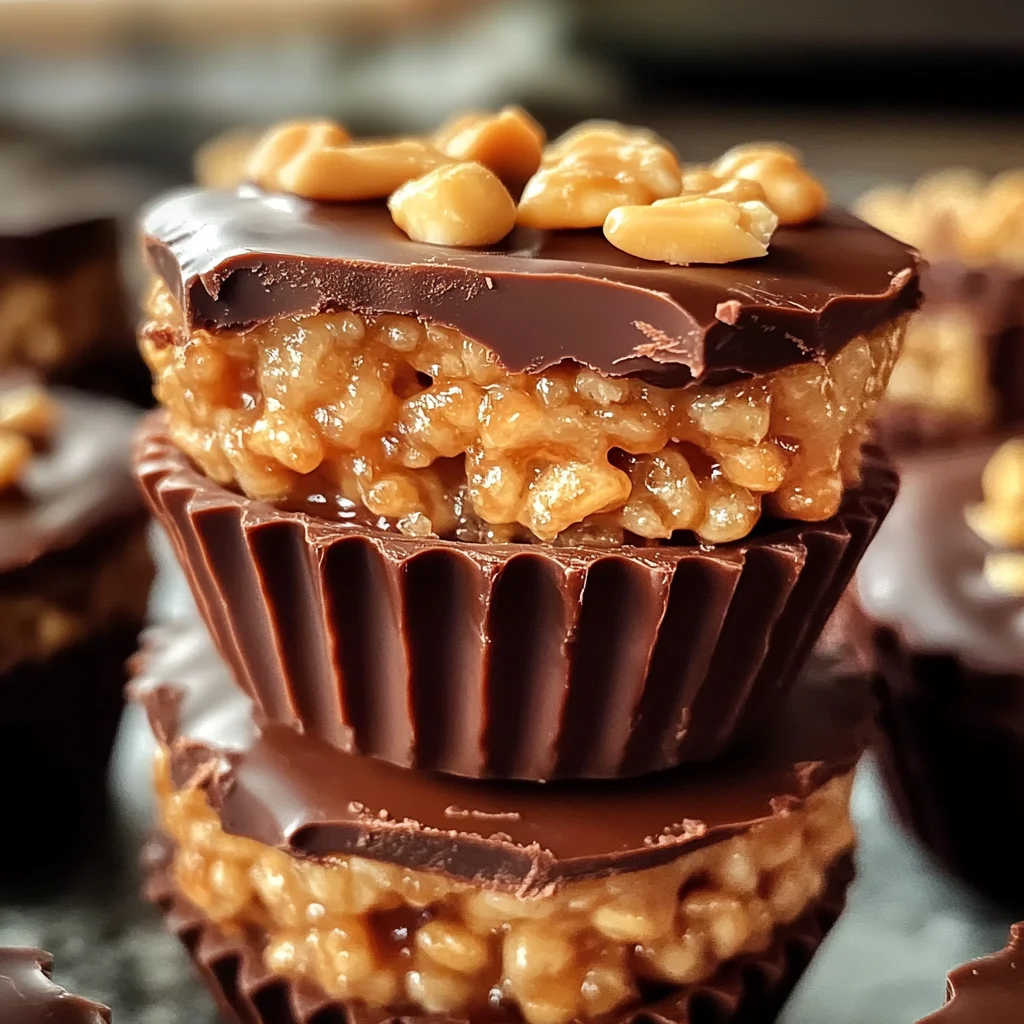
Drizzle of Nut Butter: A light drizzle of additional peanut butter over each cup adds visual appeal while enhancing that rich nutty flavor.
-
Chopped Nuts: Sprinkling some crushed peanuts or almonds on top gives a delightful crunch that complements the creaminess of the cups.
Side Dishes
-
Fresh Fruit Salad: A colorful mix of seasonal fruits provides a refreshing contrast to the sweet chocolatey goodness of your cups, making it perfect for brunch or dessert.
-
Veggie Sticks with Hummus: For a savory option, serve crunchy veggie sticks paired with hummus. This combination balances out sweetness with healthy flavors—perfect for parties!
-
Coconut Yogurt: Creamy coconut yogurt served alongside offers a delightful dairy-free dip option that pairs beautifully with these treats for added richness without overpowering their flavor.
-
Herbal Tea: A warm cup of herbal tea (like chamomile or peppermint) complements these sweet bites nicely, making for a cozy snack time experience.
With these tips and serving suggestions, your Chocolate Peanut Butter Rice Krispie Cups will impress at any gathering or simply make your day sweeter! Enjoy every crispy, chocolaty bite!
Make Ahead and Storage
These Chocolate Peanut Butter Rice Krispie Cups are perfect for meal prep! You can easily make a batch ahead of time to enjoy throughout the week or save for a special occasion. Here’s how to properly store and preserve their deliciousness:
Storing Leftovers
- Place any leftover cups in an airtight container.
- Store at room temperature for up to 5 days.
- If you prefer, you can refrigerate them to keep them fresh longer.
Freezing
- Wrap each cup individually in plastic wrap or foil.
- Place wrapped cups in a freezer-safe bag or container.
- Freeze for up to 2 months; just thaw at room temperature when you’re ready to enjoy!
Reheating
- These treats can be enjoyed straight from the fridge or freezer!
- If you’d like them slightly warm, pop them in the microwave for about 10 seconds.
- Avoid overheating, as the chocolate may melt too much.
FAQs
Here are some common questions about making Chocolate Peanut Butter Rice Krispie Cups:
Can I use crunchy peanut butter instead of creamy?
Absolutely! Crunchy peanut butter will add a delightful texture to your Chocolate Peanut Butter Rice Krispie Cups. Just make sure it’s well mixed to combine with the melted ingredients.
How do I store Chocolate Peanut Butter Rice Krispie Cups?
Store them in an airtight container at room temperature for up to 5 days. For longer storage, wrap individually and freeze for up to 2 months.
Can I customize my Chocolate Peanut Butter Rice Krispie Cups?
Definitely! Feel free to add your favorite mix-ins like nuts, dried fruit, or even a sprinkle of cinnamon for a unique twist on this classic treat.
Are these Chocolate Peanut Butter Rice Krispie Cups vegan?
Yes! By using vegan marshmallows and chocolate chips, these cups are completely plant-based and suitable for vegans.
Final Thoughts
I hope you find joy in making these delightful Chocolate Peanut Butter Rice Krispie Cups! They’re not only easy to whip up but also bring together flavors that everyone loves. Whether you’re treating yourself or sharing with friends and family, I can’t wait for you to dive into this scrumptious recipe. Enjoy every bite!
Chocolate Peanut Butter Rice Krispie Cups

Indulge in the delightful combination of creamy peanut butter and rich chocolate with these no-bake Chocolate Peanut Butter Rice Krispie Cups. This easy-to-make treat is perfect for any occasion, whether you’re hosting a gathering or simply craving something sweet. In just 20 minutes, you can whip up a batch that’s sure to impress both kids and adults alike. The crispy cereal adds a satisfying crunch, while the luscious chocolate topping makes each bite irresistible. Customize them with your favorite mix-ins or toppings for an extra special touch!
- Prep Time: 10 minutes
- Cook Time: 10 minutes
- Total Time: 20 minutes
- Yield: Makes approximately 12 cups 1x
- Category: Dessert
- Method: No-bake
- Cuisine: American
Ingredients
- 3 cups Rice Krispies cereal
- 1 cup creamy peanut butter
- 1/2 cup unsalted butter
- 1 cup mini vegan marshmallows
- 1 cup chocolate chips
- 1/2 tsp vanilla extract (optional)
- Pinch of sea salt (optional)
Instructions
- In a medium saucepan over low heat, melt the unsalted butter and mini vegan marshmallows, stirring until smooth.
- Stir in the creamy peanut butter and optional vanilla extract until fully combined.
- Pour the Rice Krispies into a large mixing bowl and gently fold in the melted mixture until evenly coated.
- Line a muffin tin with paper liners and spoon the mixture into each cup, pressing down to form a flat surface.
- Melt the chocolate chips in the microwave in short intervals, then spoon over each cup, spreading evenly.
- Allow to cool at room temperature or refrigerate until set.
Nutrition
- Serving Size: 1 cup (40g)
- Calories: 170
- Sugar: 10g
- Sodium: 80mg
- Fat: 9g
- Saturated Fat: 3g
- Unsaturated Fat: 6g
- Trans Fat: 0g
- Carbohydrates: 22g
- Fiber: 1g
- Protein: 3g
- Cholesterol: 0mg